How to install using Docker
Firefly III and the Data Importer can be installed using Docker. There are ready-made Docker containers for almost all platforms. If you've never used Docker before, please first read into it yourself.
The easiest way to install them is using "Docker compose", which is a Docker tool that allows you to define and run multi-container Docker applications. With Docker compose, you use a YAML file to configure your application's services. Then, with a single command, you create and start all the services from your configuration.
This guide will assume you'll want to install both Firefly III and the Data Importer. If you already have a Firefly III installation, and you wish to expand it with the data importer, do not worry. You can follow this guide again and reinstall Firefly III. You will point to the same data volumes and the same databases, so nothing will be lost.
The YAML file and all necessary configuration are provided online for your convenience.
If you happen to include any existing data from Firefly III, please back this data up first.
If you have questions, please refer to the Docker FAQ or contact me using the instructions from the support page.
Docker Compose
Download files
Grab the docker-compose-importer.yml from GitHub. Download the raw file and store it in a directory of your choice as docker-compose.yml.
Then, download the configuration files:
- Download the
.env.examplefile for Firefly III from the Firefly III repository. Save the raw file as.envnext to the docker compose file. - Download the
.env.examplefile from the Data Importer repository and save it as.importer.envnext to the other files. - The final file (
database.env) contains the database variables and can be downloaded from the Docker repository. Save it as a new file called.db.env.
Edit files
If you save all example files and change nothing, it will NOT YET work. You must do a few things:
- Change
DB_PASSWORDin.envto something else. Pick a nice password. - Also change
MYSQL_PASSWORDin.db.envto the SAME value - Change
FIREFLY_III_URLin.importer.envtohttp://app:8080 - Change
VANITY_URLin.importer.envto the URL you use to reach Firefly III. For example:http://localhost(this is probably different in your case). - Set
TRUSTED_PROXIES=*(yes, with an asterisk) when you have a reverse proxy like nginx or Traefik
Note
Change the password FIRST. If you change the password after you started Docker, it will complain about having no access.
Run the compose file
Run the following command in the directory where all files are present.
You can follow the progress of the installation by running this command:
When the installation is done, Firefly III will thank you for installing it. Once you see this message, you can visit Firefly III. It will be running at http://localhost.
Set up Firefly III
Follow these how-to's and tutorials to set up Firefly III:
- Tutorial: Create accounts and transactions
- Tutorial: My first accounts
- How-to: organize transactions
Create an access token
Follow how-to get a token. Use the custom instructions below:
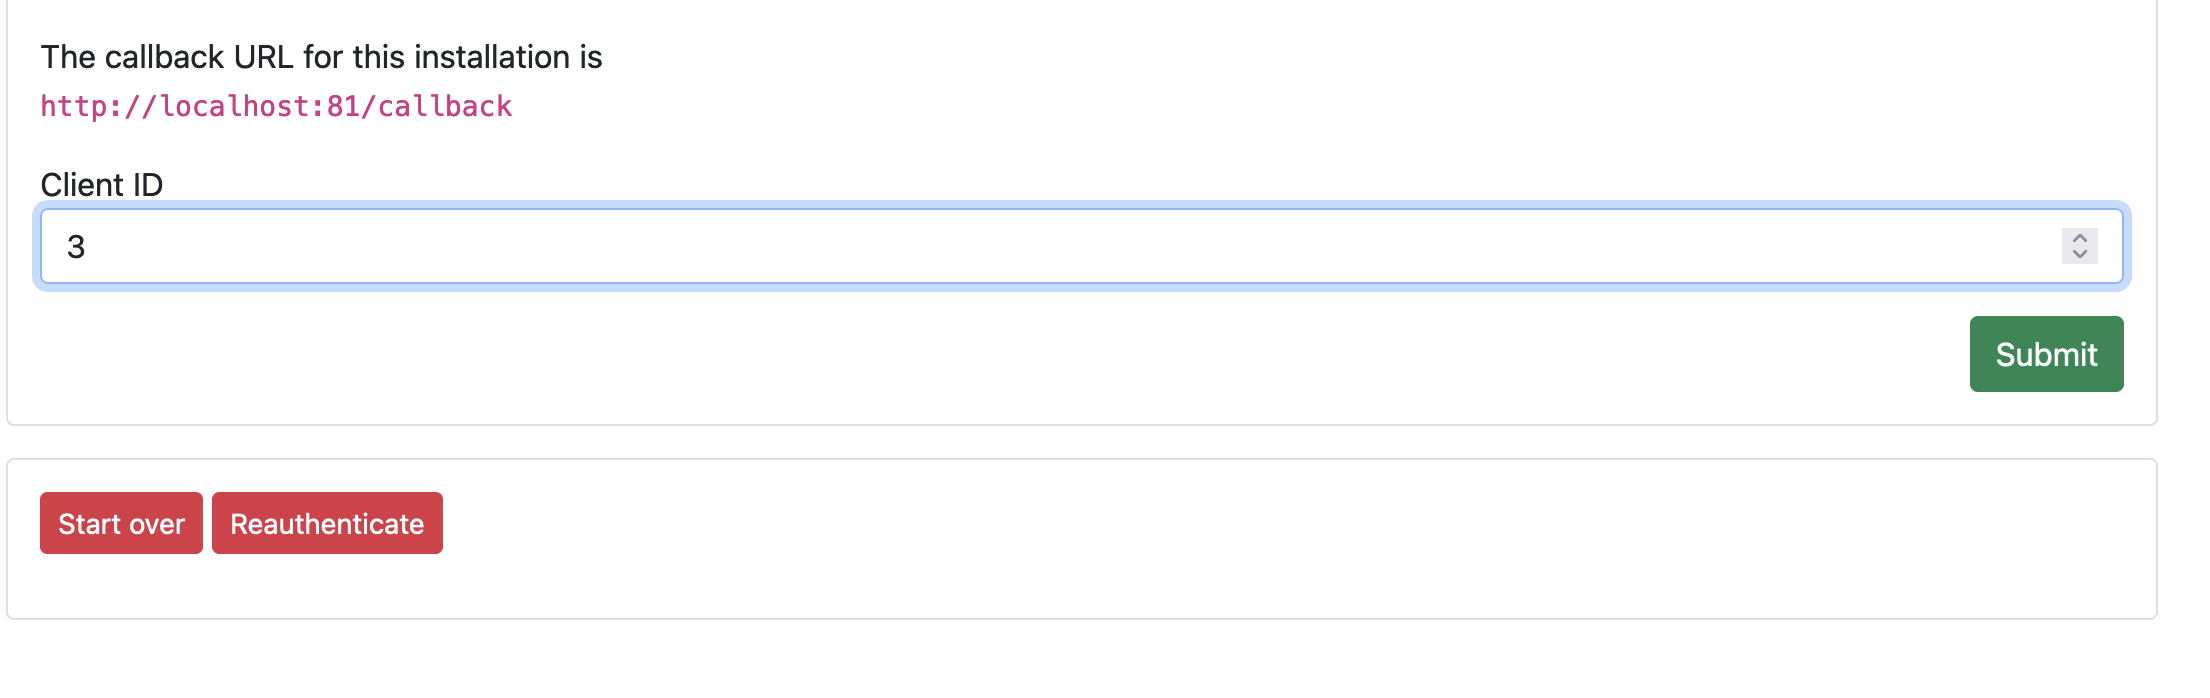
- The callback URL will be
http://localhost:81/callback - UNCHECK the box that says "Confidential"
Browse to the data importer
Now, browse to the Data Importer. It will be running at http://localhost:81/.
Enter the Client ID from the previous step. In my example, it is "3":
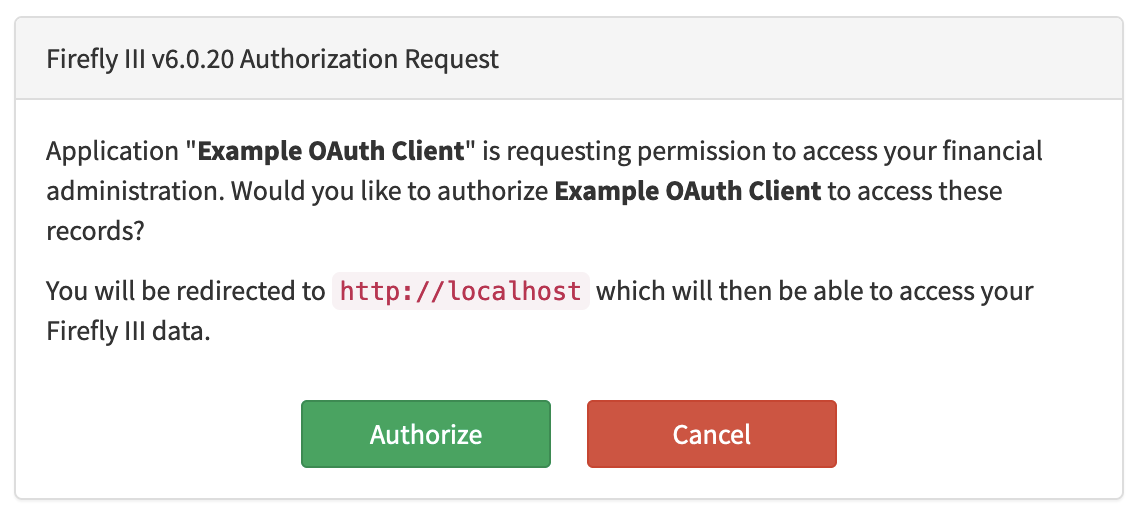
Press the button to Authenticate. You should give permission on the next screen. Note how the name of your client is reflected in the question:
You should get back on the Data Importer index:
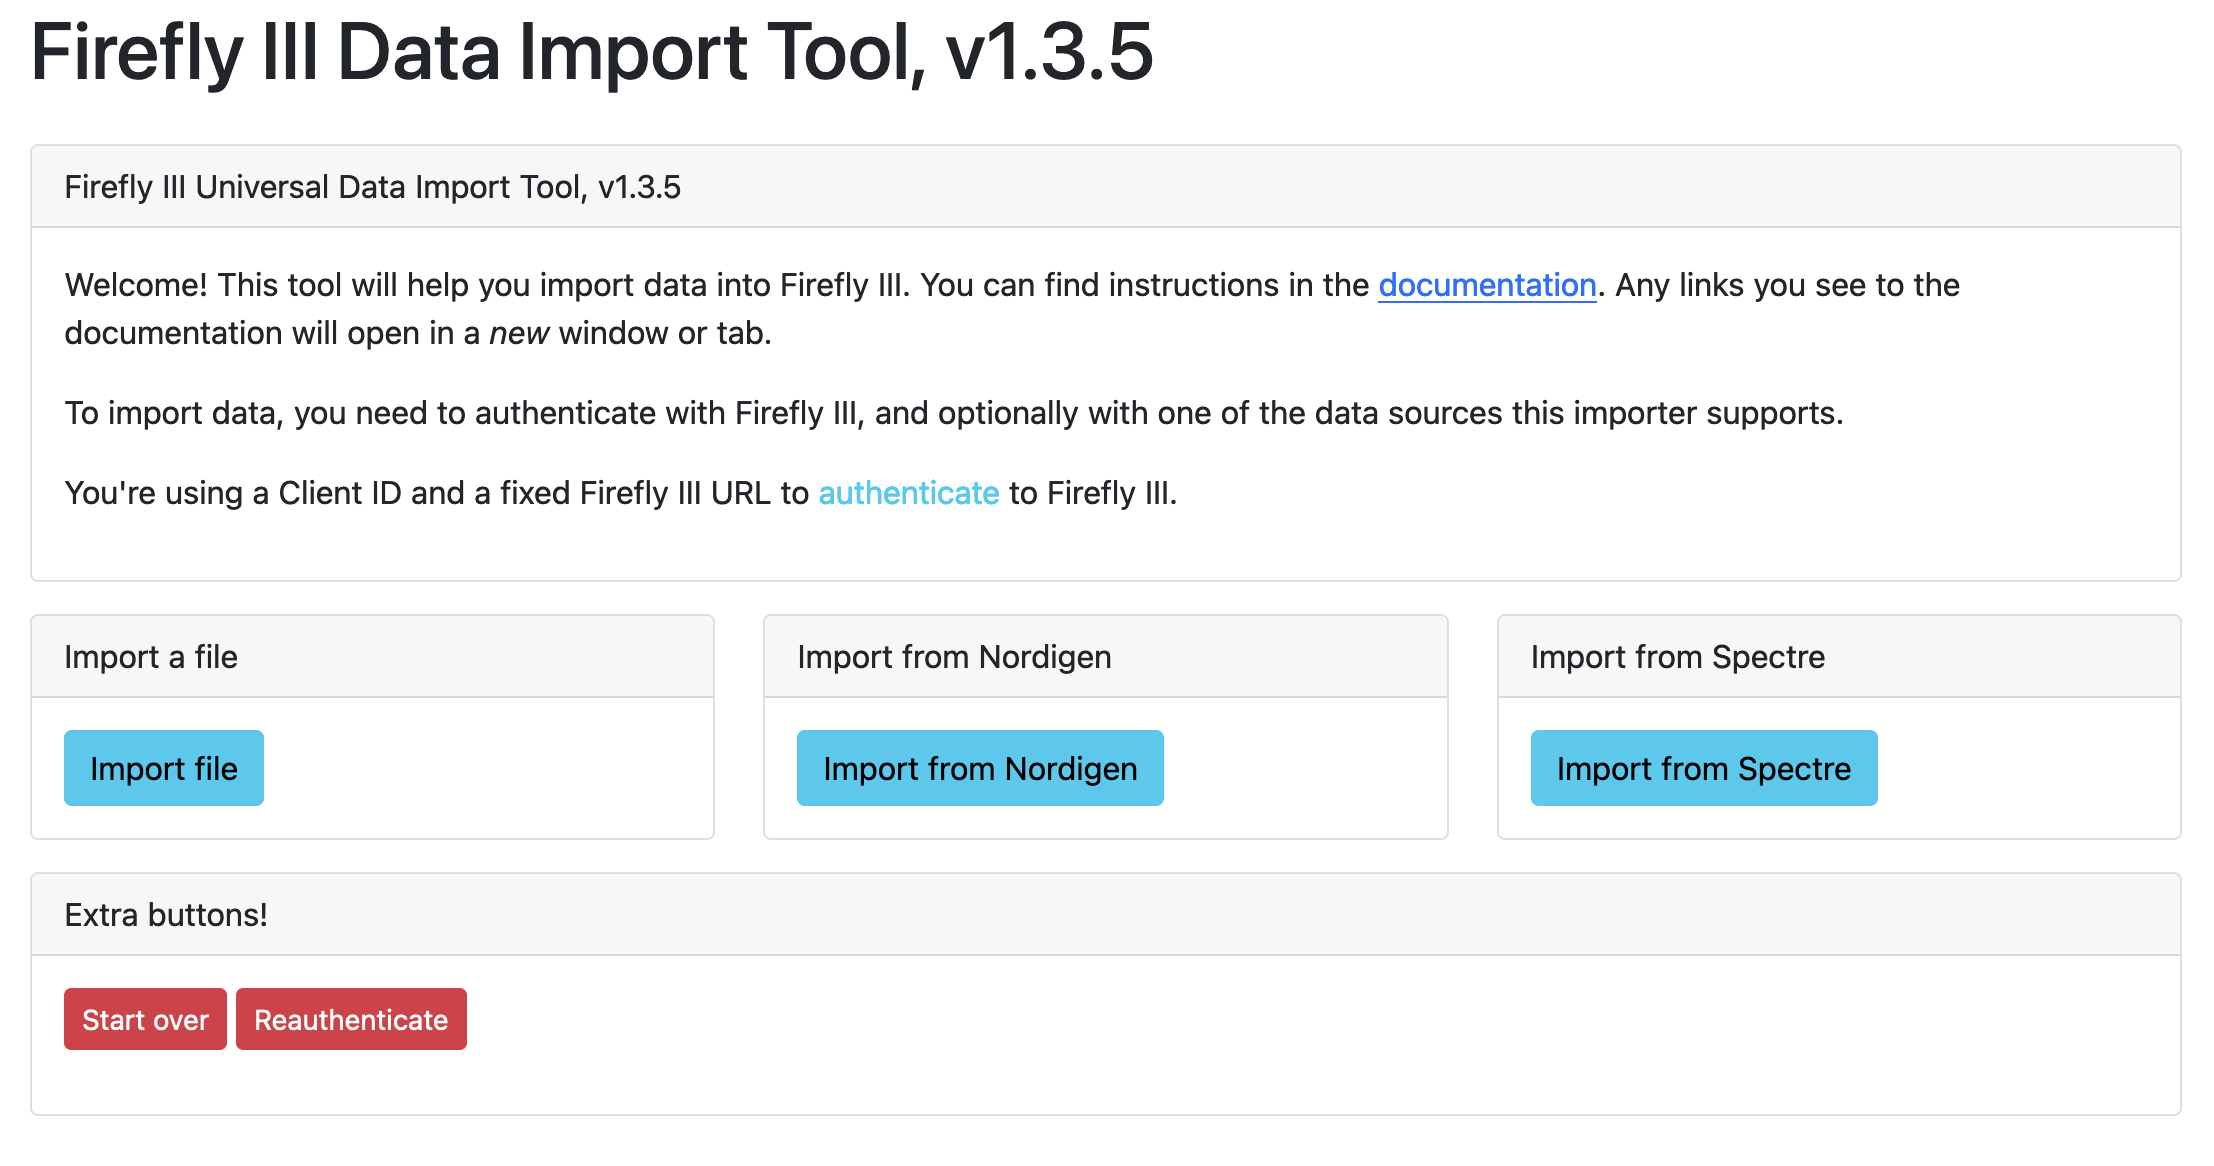
You are now ready to go!
Plain Docker
You can also use Docker itself, skipping Docker Compose. This allows you to set up a single container, with just the data importer inside of it.
To run the Data Importer as a singular container using the following run command. You will start a web server on port 8081 that will allow you to use the data importer.
Follow how-to get a token. Use the custom instructions below:
- The callback URL will be your Firefly III installation
- UNCHECK the box that says "Confidential"
Note that most people don't use GoCardless and Spectre values at the same time.
All environment variables are optional, but convenient. Please note that the NORDIGEN environment variables refer to GoCardless.
docker run \
-e FIREFLY_III_ACCESS_TOKEN=(here) \
-e FIREFLY_III_URL=(here) \
-e NORDIGEN_ID=(here) \
-e NORDIGEN_KEY=(here) \
-e SPECTRE_APP_ID=(here) \
-e SPECTRE_SECRET=(here) \
-p 8081:8080 \
fireflyiii/data-importer:latest
Run in the background
Change docker run to docker run -d so the image runs in the background.
If you have questions, please refer to the Docker FAQ or contact me using the instructions from the support page.