Installation using Portainer
Portainer is a well known container management tool for Docker. It can help you manage your containers, networks and volumes.
You can add Firefly III and the Data Importer as a "stack" using the instructions below.
Preparation
You will need to download and save the following configuration files:
- Docker compose file
- This stack.env file with all the environment variables. Save it as
stack.env.
Edit docker compose file
First, open the docker compose file in your favorite editor, and change all references under env_file: to say env_file: stack.env.
Tip
All env_file: references must be pointing to exactly stack.env. Nothing else.
Second, update line 60, the that says PLEASE_REPLACE_WITH_32_CHAR_CODE and change it to a 32-character code. You need a random string at this point. If you don't want to make one up, create one on this page. This 32-character code is used to secure the cron job.
Edit stack.env
You must do a few things:
- Change
DB_PASSWORDinstack.envto something else. Pick a nice password. - Also change
MYSQL_PASSWORDinstack.envto the SAME value (it's at the bottom) - Change
FIREFLY_III_URLinstack.envtohttp://app:8080 - Change
VANITY_URLinstack.envtohttp://localhost - Change
STATIC_CRON_TOKENto the value you generated in the previous step.
Installation
Add docker compose file
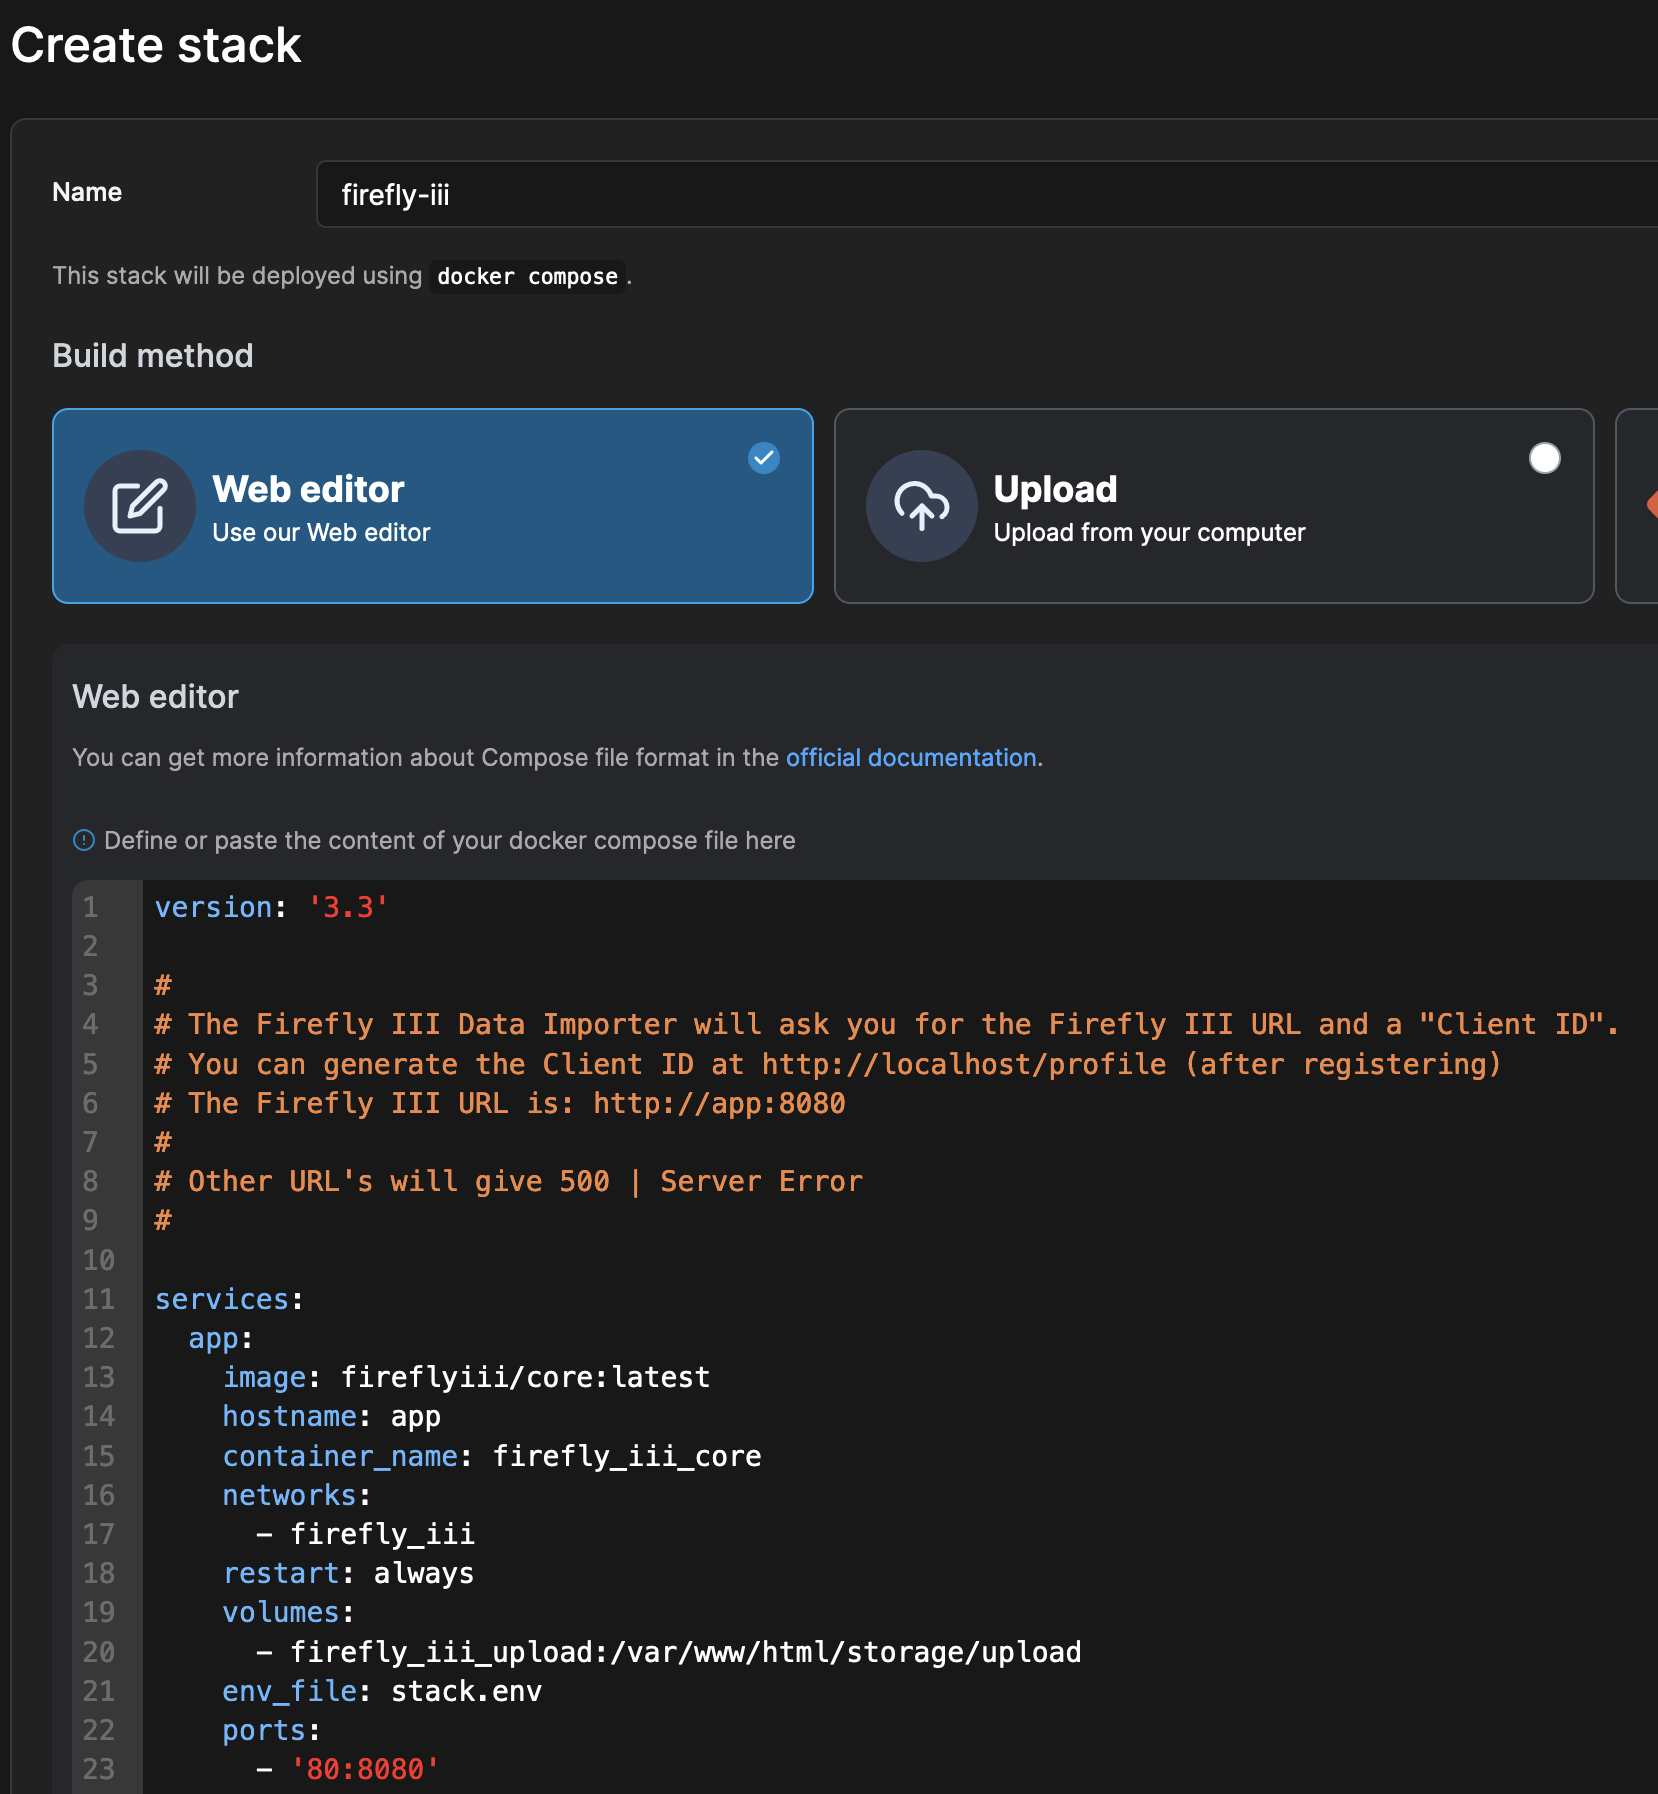
Open Portainer and go to the environment where you want to install Firefly III. This is usually the "local" one. Then, select "Stacks" in the left-hand menu. Click "Add stack".
Give your stack the name firefly-iii, and copy-paste the content of your edited docker compose file.
Add stack.env file
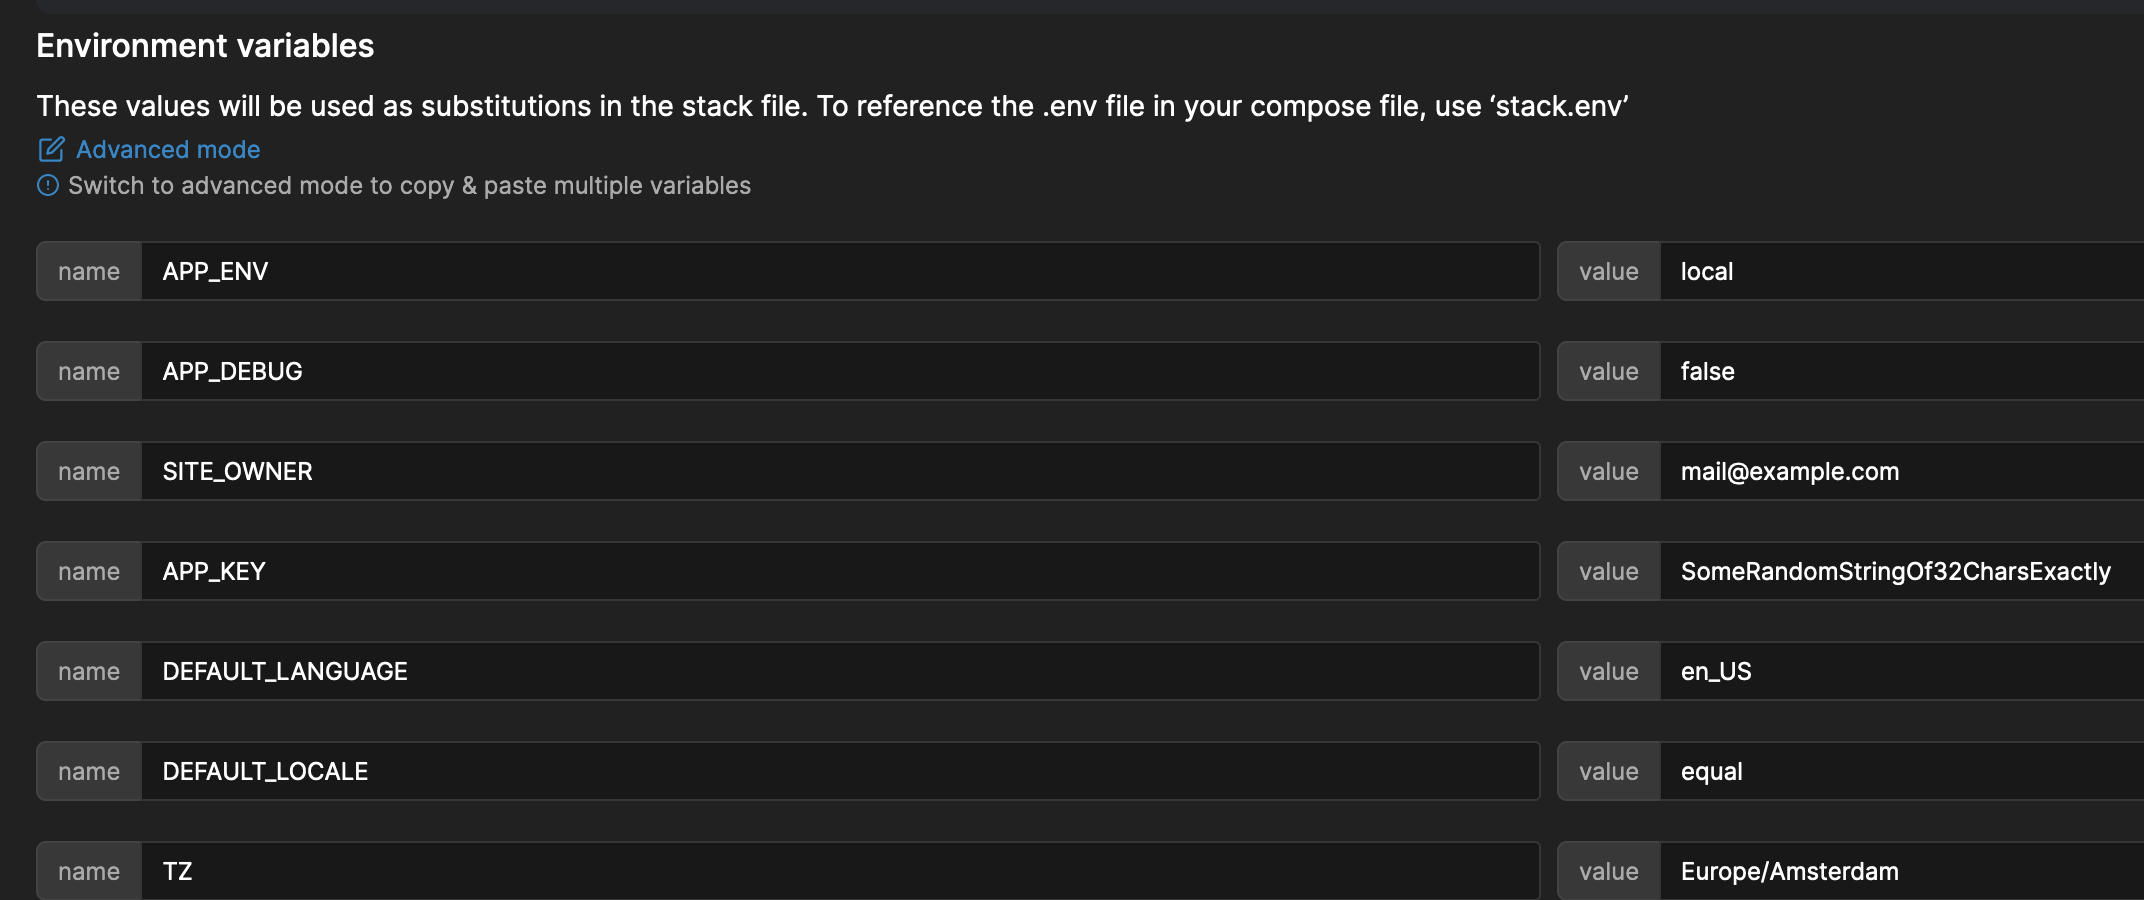
Upload the stack.env file here. You will see that Portainer will expand all the environment variables in the file.

If you did not make the changes indicated earlier, now is the time.
Deploy!
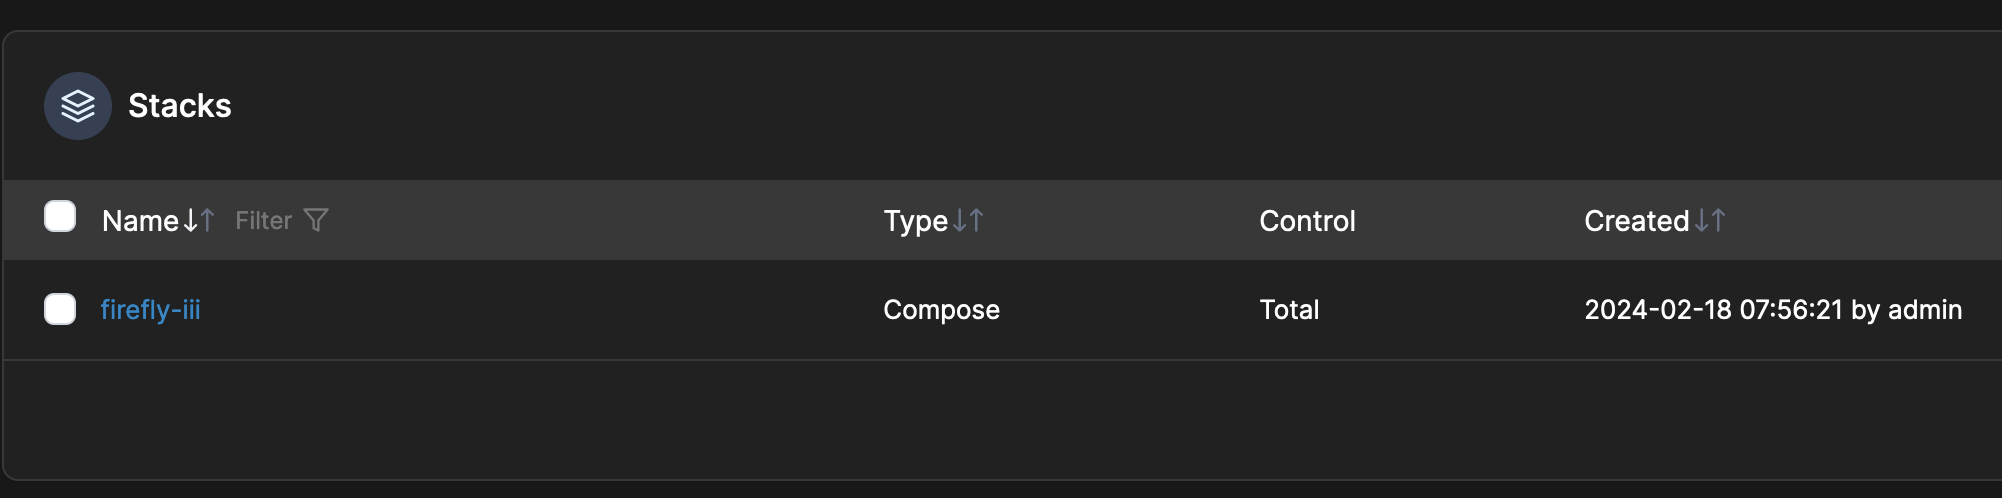
Press the button to get the stack deployed! After a while, it should run as expected.
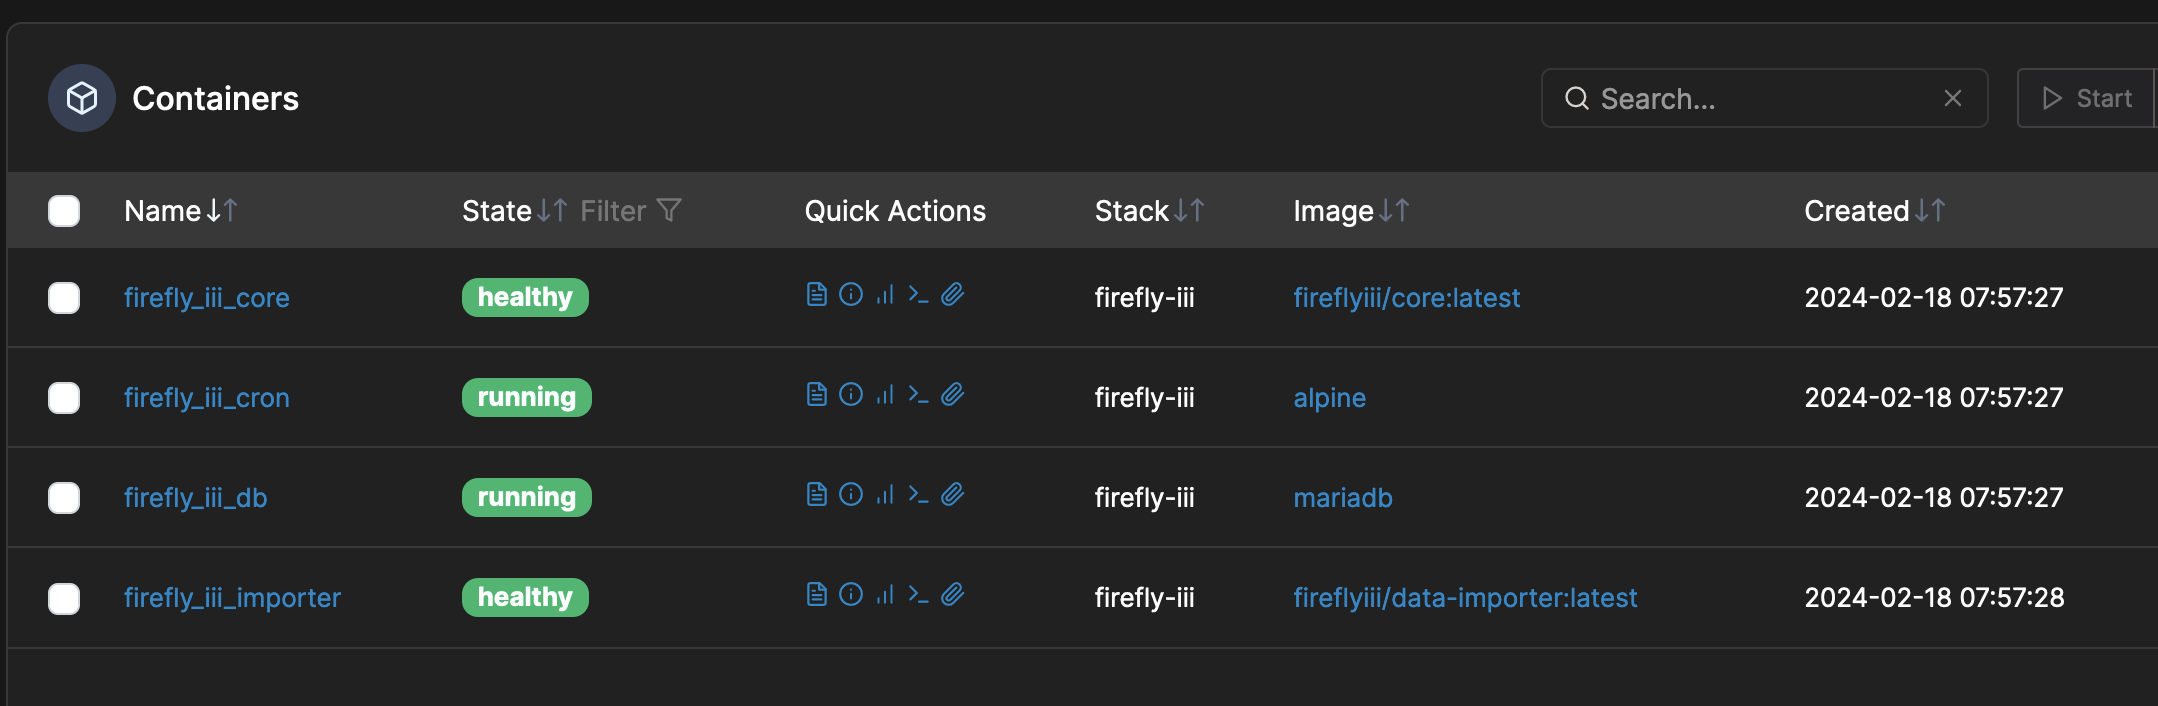
The default configuration will run Firefly III on port 80 which means you can visit Firefly III at http://localhost. If your portainer is running somewhere else, or in a different configuration, the URL will be different of course.
The data importer (again, in the default configuration) can be reached at http://localhost:81.
From this point forward, you can follow these tutorials and guides to help you set up: